Widget controls
Widgets and widget collections have controls that allow resizing, zooming, and selecting hosted datasets. Widget collections always have the same set of controls. Widgets have additional, context-dependent controls that depend on the type of loaded widgets (see the description of widget types in this section).
Widget Collection
Widget collections represent genomic region sets and can host a variable number of widgets representing genomic features at this shared region set. Thus, the controls found on widget collections can change the selected region set and the arrangement of contained widgets.
Select genomic region set
To select a genomic region set, click on the middle button at the top of a given widget collection:

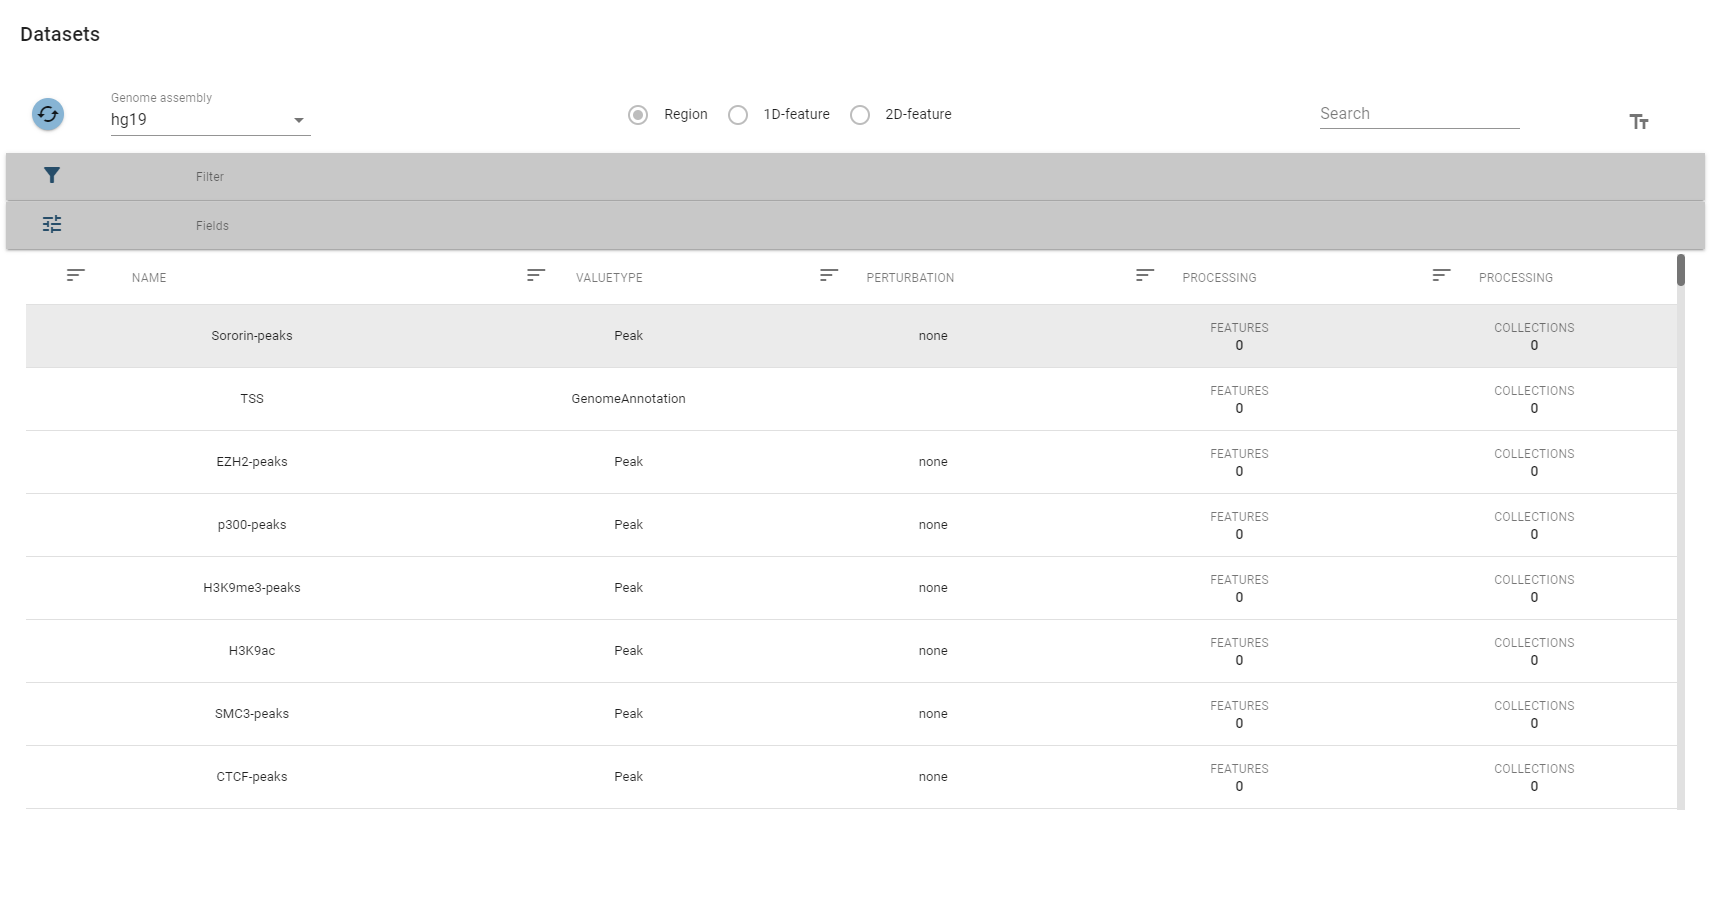
This will cause the dataset selection dialogue to pop-up, where you can select a genomic region set for this widget collection:
Once selected, the name of the selected region set will be displayed on the blue horizontal bar at the top of the widget collection.

When an offdiagonal region set (BEDPE) is selcted, this is indicated as well.

Set window size
If your region set is a point-features (see this section for a detailed explanation), the top controls of the widget collection will allow you to select the specific window size that all the widgets inside the collection display:

This means that with this selection, you can “zoom” in and out of your genomic region of interest to observe effect at different genomic scales.
Resize and delete widget collection
You can resize the widget collection with all of its containing widgets using the controls at the top-left of the widget collection:
Note that widget collections have a set minimum size beyond which you cannot shrink the widget collection.
If you want to delete a widget collection, you can click on the garbage can at the top right.
Creating slots
Widget collections can contain multiple slots for widgets. These slots can be created by hitting the arrow buttons on the right and bottom of a widget collection. For example, you can click the arrow on the right to create an additional slot for a widget:

Creating widgets
To create a widget, you can hover over the central  button inside the widget slot to reveal the widget selection menu:

Once you click on a specific widget, the slot gets filled with an empty widget of that type:

Arranging widgets
Widgets can be dragged from one slot to another in order to create the perfect arrangements for your analysis question. For this, just drag the widget to your target slot:

Widgets
All widget types have their own “widget controls” described in the chapter of the respective widgets. In addition to that, all widgets share controls for selecting datasets, selecting bin size, and deleting widgets.
Selecting genomic features
To select a genomic feature for a given widget, click the button on the top right.

This will open the dataset selection table or the collection selection table depending on which data type is suitable for the current widget. Using this table, you can select which features you want to load into the given widget.
Changing bin size
To change the genomic resolution at which you want to look at the data, you can select the desired binsize from the binsize dropdown at the top of each widget.

For point features, binsize will be in genomic coordinates, whereas for interval features, binsize will be in the percentage of the respective region size. See this section for a more detailed explanation.
Off-diagonal region sets (BEDPE): Visualizing supports
When an off-diagonal genomic region set (imported using BEDPE-files) is used, the widget will display icons (squared 1 and 2) for displaying left and right support data. These icons are not be displayed for 2d-feature heatmaps. Depending on the widget type, displaying left and right support may be mutually exclusive, and clicking the icons will toggle the displayed support.
